

The grout is pressure-injected directly into cracks. Upon contact with water, the isocyanate groups in the polyurethane react rapidly to form an expanding gel. This gel fills voids and forms a watertight seal. Once cured, it adheres strongly to the surrounding concrete, preventing further leakage.
Types of Polyurethane Grout: Water-Based vs Oil-Based
1. Water-Based Polyurethane Grout
-
Mechanism: Self-emulsifies and reacts with water to form an elastic gel.
-
Advantages:
-
Excellent elasticity and waterproofing
-
Environmentally friendly and non-toxic
-
Effective in high-moisture environments
-
-
Limitations:
-
Can shrink in dry conditions, increasing the risk of re-leakage
-
2. Oil-Based Polyurethane Grout (Cyan-Grout)
-
Mechanism: Solvent-based grout that reacts with water to release CO₂, rapidly expanding and forming a rigid plug.
-
Advantages:
-
High compressive strength
-
Chemical resistance and temperature durability
-
Reinforcement effect in structural repairs
-
-
Limitations:
-
Contains solvents that may be harmful to people and the environment
-
Risk of volume shrinkage over time due to solvent evaporation
-
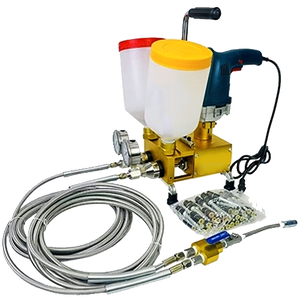
Tip: On job sites, it’s common to blend water-based and oil-based grouts to balance flexibility and strength based on actual leakage conditions.
Where to Use Polyurethane Injection Grout
Polyurethane grout is ideal for:
-
Basement waterproofing
-
Expansion joints
-
Post-poured concrete joints
-
Subway and tunnel leakage
-
Cracks in underground concrete structures
Step-by-Step Polyurethane Injection Process
1. Site Inspection & Leak Assessment
Evaluate the leakage location and plan the injection pattern accordingly.
2. Drilling Injection Ports
Drill ports (typically 30 cm apart) at angles or vertically to access the cracks. Use mechanical drilling tools for accuracy.
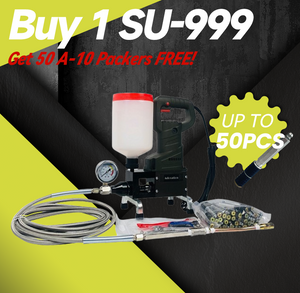
3. Install Injection Packers
Insert and tighten steel or plastic packers into the drilled ports. These will serve as injection channels.
4. Pre-Grouting with Water
Inject clean water to flush out dust and check leakage patterns. Seal large leak points temporarily if needed.
5. Inject Polyurethane Grout
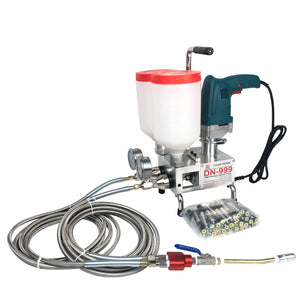
Use a single-component pressure grouting pump to inject the material. Start from the top and work downward. Hold pressure for 3–5 minutes after grout appears in adjacent ports.
6. Remove Packers and Seal the Holes
After the grout cures, remove excess packers, clean the surface, and seal the injection holes using mortar or fast-setting sealant.
Conclusion: Why Choose Polyurethane Grouting for Waterproofing?
Polyurethane injection grout offers a modern, reliable solution for stopping water infiltration in concrete structures. With the right choice of material—water-based for flexibility or oil-based for strength—and proper application techniques, it delivers long-term waterproofing performance.
Whether you’re sealing basement cracks or reinforcing a tunnel lining, polyurethane grout provides a simple yet powerful method to ensure structural durability and leak protection.
0 comments